Remember this little guy, who appeared in the post-Labor Day post--the one where I asked you to guess which photo was a legitimate "before" as opposed to a red herring? The flowered tray, also pictured on a project-ready tarp, was the red herring, while this guy (lucky thing!) got a new lease on life over the weekend.
First I painted white acrylic over the bright squiggles. As this canvas and its whitened twin dried in front of the fan, I lined up some crayons in my living room color scheme, trying to see which line-up I liked best.
Meanwhile Shelli, far more decisive about her project, was already gluing on her ROYGBIV row:
She interspersed hers with metallic crayons (from a Crayola box of 96), trying to space out the glitzy ones fairly evenly. They looked cool when they melted, but we didn't get a close-up of that. Sorry, Charlie.
While she finished her gluing, I painted a colorful coat on each of my canvases, making one yellow and one blue. Since I was including so many neutral crayons in my piece I wanted to infuse it with a stronger hit of color, and the background seemed like an appropriate place for that.
When the two coats of paint dried, I took a turn with the glue gun, having decided--with Shelli's clear-sighted input--to arrange the crayons so that each canvas lacked crayons of the background color. Probably seems like it should have been obvious, but I was getting overanalytical about where to put what, then Shelli pointed out that it made the most sense to put the yellow crayons all on the blue canvas and vice versa. Ta-da!
By this point Miss Industrious was on to the next step: taking a hot-as-can-be blowdryer to the wax and awaiting surrender:
Please pardon the darkness of some of these shots; it was getting late by the time we reached this step and we were in a room lit only by lamps. (Sounds quaint, doesn't it?) After she made the crayons sweat a bit with this set-up, we realized she'd have more control with the blowdryer attachment. Not the diffuser, the other one. The one I called "the intensifier," even though I know that's probably not its real name and sounds ridiculous to boot. You know what I mean, though...right?
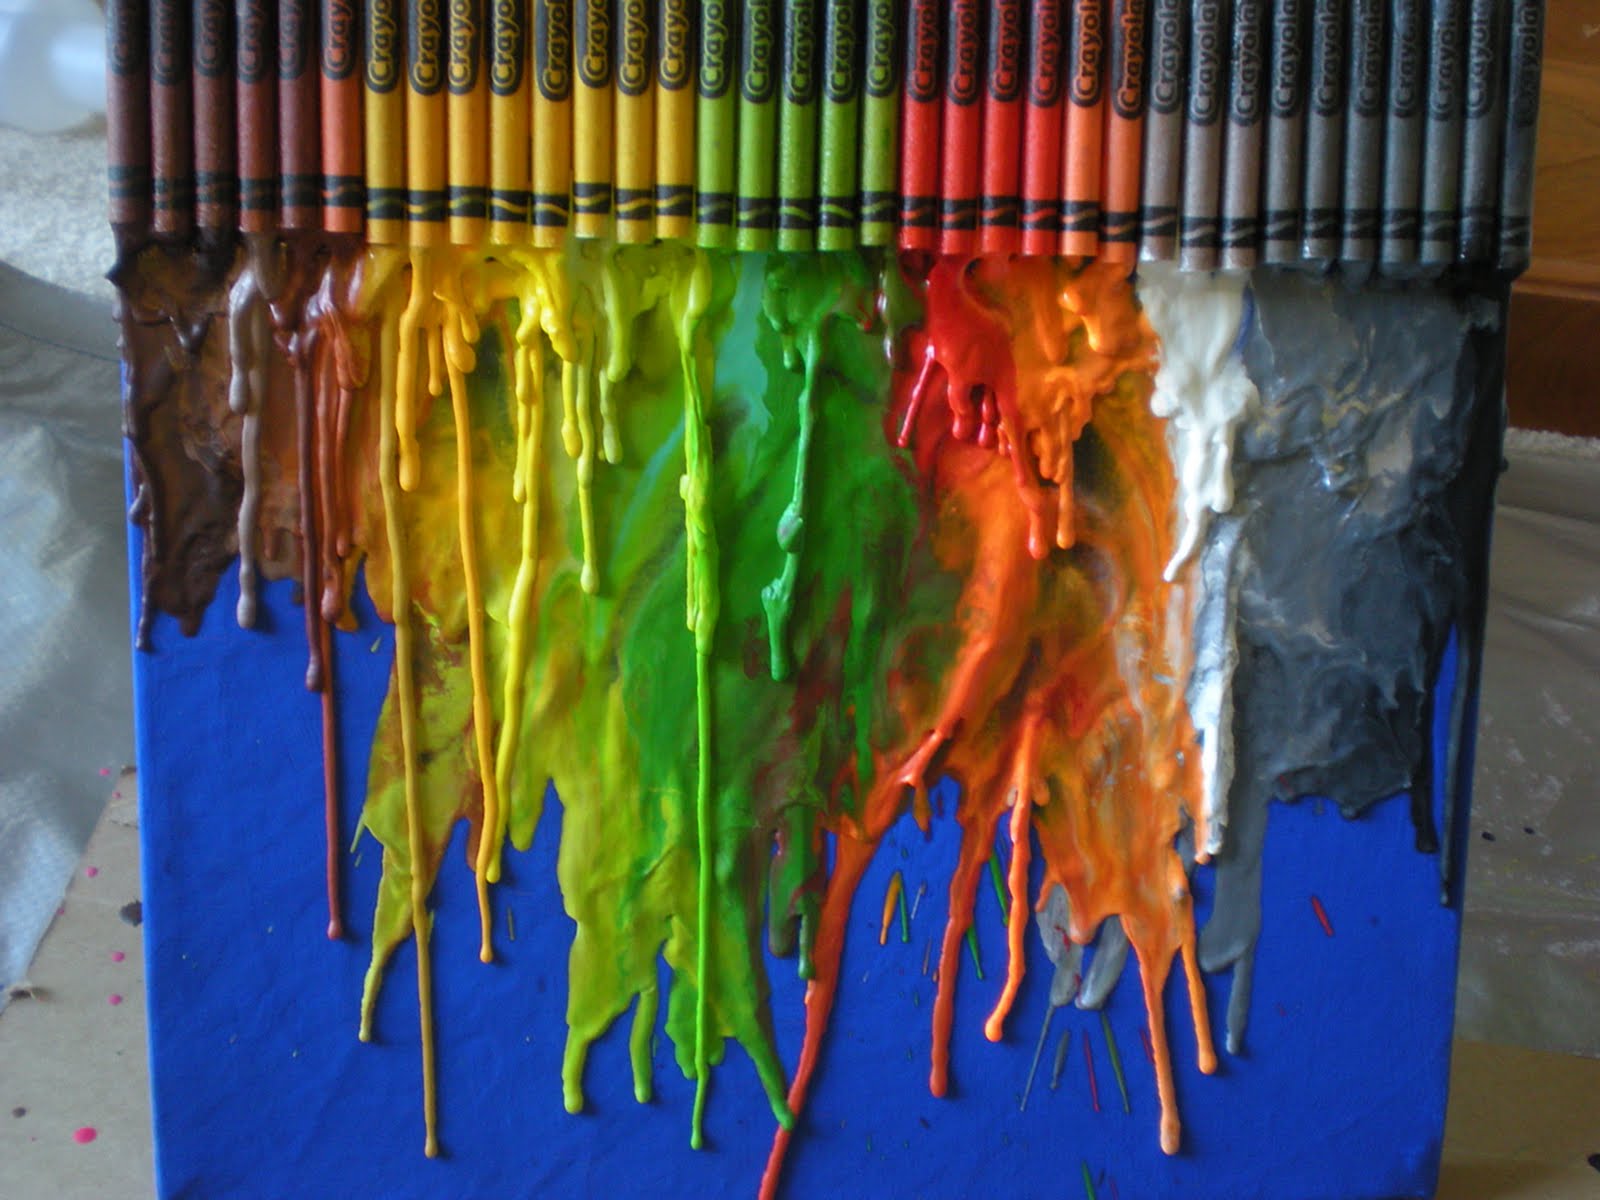
Here's Shelli's rainbow-bright final creation, although it's kind of rainbow-dark due to the lighting situation:
And here's one of mine; I still haven't melted the other one yet. The crayons took longer to melt than either of us expected (30 minutes?) so after one--and with everything else I had left on my list--I decided to leave the rest for later.
I like how it turned out. What we learned was that the best results come from holding the blowdryer over the paper, instead of over the crayon tip. Heating the wax higher up creates a literal trickle-down effect that makes those cool drippy patterns. I actually completed mine in two stages: first I let a wet mess of mixed colors run down, and I kept blowing over what had spilled to make it spill more and more toward the bottom of the canvas. Then I went back and, trying to keep the heat on one color group at a time, I drew out more wax but let it dry before I came back for the neighboring color. That made the "pure" color drips on top of the more puddly backdrop.
To offer credit where credit is due,
here's the site we used for our tutorial. Looks like she has lots of other fun ideas too. Have you ever done a project with melted wax? Recently I conducted a bit of research on batik (a method of waxing and dyeing to create patterns on fabric) but it looks too intense. This was right up my alley--simple, bright, and not too complicated!


1 comment:
I have seen this on Pinterest and thought it looked fun!
Post a Comment